
 Getting a Tattoo
Can You Exercise Before a Tattoo Appointment?
Published On 07-10-2026
Published by the Tattoo Shops Near You Editorial Team
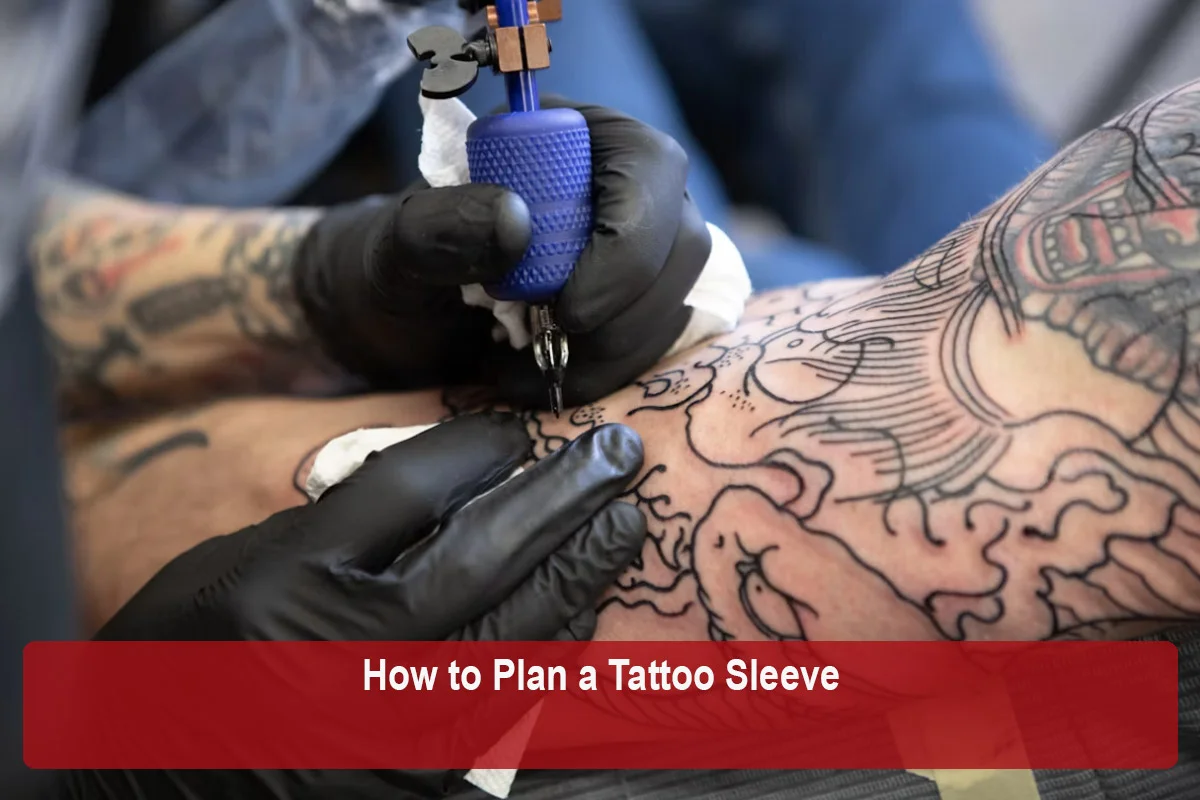
A tattoo sleeve is one of the biggest projects you can take on as a collector. It covers a large area, takes many hours across multiple sessions, and becomes a defining part of how you look. Because of that scale, planning makes a huge difference. A well-planned sleeve flows naturally, looks cohesive from every angle, and is built to age well. A poorly planned one can feel crowded, disjointed, or unfinished.
This guide walks through the planning process step by step, from choosing a theme and style to finding an artist, mapping the layout, budgeting time and money, and preparing for the sessions ahead. If you are still deciding whether to plan everything upfront or let a sleeve grow over time, our companion article on whether you should plan a full sleeve before starting looks at that choice in depth.
Sleeves come in different lengths and coverage levels:
Decide which length you are aiming for, even if you start with a smaller section. Knowing the end goal helps your artist plan placement and flow from the first session.
A theme ties a sleeve together. It does not need to be complicated, but it gives every element a reason to be there. Common approaches include:
Some people choose a broad theme and let the artist build the details. Others have specific elements they want included. Either way, writing down what matters to you before your consultation helps the artist understand your vision.
Style shapes the whole look of your sleeve. Popular sleeve styles include Japanese, American traditional, neo-traditional, black and grey realism, color realism, blackwork, ornamental, and illustrative. Each brings its own approach to composition, background, and color.
A single consistent style is the most common way to create a cohesive sleeve. Mixing styles is possible but requires careful planning. Our comparison of American traditional vs neo-traditional tattoos can help you narrow down your preferences.
Decide early whether your sleeve will be in color, black and grey, or a mix. This affects the overall feel, the artist you choose, session length, and how the sleeve ages. Color sleeves can be vibrant and striking, while black and grey sleeves often feel timeless and blend easily with future work. Consider your skin tone and ask your artist which approach they recommend for your design.
For a sleeve, the artist relationship is especially important. You will spend many hours together across multiple sessions, so skill, reliability, and communication all matter.
Look for an artist who specializes in your chosen style and has completed sleeves in their portfolio, ideally with healed photos. Finished sleeves show that they can design large-scale compositions that flow around the arm. Our guide on choosing a tattoo artist for your style explains what quality looks like in different styles, and our broader guide on choosing the right tattoo artist covers communication and long-term working relationships.
A sleeve wraps around a three-dimensional limb, so layout is more complex than a flat design. Most artists plan sleeves around a few principles:
Many artists sketch directly on the arm with markers or draw over photos of your arm to plan the layout. This helps everyone see how elements will sit on your body before the needle starts.
| Decision | Options to Consider | Why It Matters |
|---|---|---|
| Length | Full, half, quarter, or leg sleeve | Determines layout and number of sessions |
| Theme | Nature, mythology, personal story, aesthetics | Gives every element a purpose |
| Style | Japanese, traditional, realism, blackwork, and more | Shapes the overall look |
| Color | Color, black and grey, or mixed | Affects mood, aging, and session time |
| Artist | Specialist with healed sleeves | Ensures cohesive large-scale design |
| Layout | Focal points, flow, background, transitions | Makes the sleeve read well from all angles |
| Budget and schedule | Session frequency and cost | Keeps the project sustainable |
Sleeves are a significant investment. Many artists charge by the hour or by the session, and a full sleeve typically requires many hours of work. Ask your artist for a rough estimate of total time and how they price ongoing sessions. Pricing varies widely by artist, region, style, and detail, so there is no standard figure.
Many collectors budget per session rather than for the whole sleeve upfront, spacing sessions so the cost is spread over time. Understanding the deposit policy for ongoing work also helps. Our article on why tattoo shops require deposits explains how deposits typically work.
Sleeves are usually completed over multiple sessions spread across months or longer. Artists typically wait for each section to heal before working on adjacent areas. Ask your artist how they like to sequence the work. Some outline the whole sleeve first, then shade and color section by section. Others complete one area at a time.
Plan sessions around your work, travel, and life commitments, and give yourself time to heal between appointments.
Sleeve sessions are often long. Preparation helps you stay comfortable and makes the most of each sitting. Eat well, hydrate, rest the night before, and bring snacks and entertainment. Our guide on what to bring to a long tattoo session has a full checklist.
Even the best plans evolve. As the sleeve takes shape, you and your artist may decide to adjust an element, change a background detail, or add something new. Staying open to these adjustments, within the overall vision, often leads to a better result. Trust your artist's eye for composition, especially when they suggest changes to improve flow.
Some parts of the arm need special attention in sleeve planning. The elbow is bony and creases constantly, so artists often use patterns, mandalas, spider webs, or background shading there rather than detailed focal imagery. The inner elbow and inner upper arm are commonly reported as more sensitive and may be scheduled for sessions when you feel fresh. The wrist is where the sleeve ends, so artists plan a clean finishing edge, which might be a straight line, a cuff-style border, or background that fades out gradually.
Discussing these areas early helps you understand how the sleeve will look from every angle, not just the outer arm.
Many people begin with a half sleeve, either the upper arm or the forearm, and decide later whether to extend it. If you take this approach, plan the half sleeve so it can connect to the other half in the future. Ask your artist to leave a natural transition point near the elbow, and keep your theme and style consistent so an extension feels seamless.
If you already have tattoos on the arm, they become part of the plan. Your artist will decide whether to work around them, incorporate them with background, refresh them, or cover them. Bring clear photos of your arm to the consultation and be honest about which pieces you want to keep.
Each sleeve session leaves a large area to heal. Think about your work, sports, and travel plans when scheduling, since a freshly tattooed arm may need protection from sun, friction, and heavy use. Planning sessions around quieter periods makes healing easier and helps the work settle well.
Save sketches, layout photos, and healed progress photos as your sleeve develops. A visual record helps you and your artist track progress and is invaluable if you ever need to continue the project with someone else.
A sleeve takes time, and the in-between stages are part of the experience. Many collectors enjoy watching the design evolve session by session and building a relationship with their artist along the way.
Resist the urge to rush. Allowing proper healing between sessions and giving your artist time to design each section carefully leads to a better finished sleeve.
Planning a tattoo sleeve means deciding on length, theme, style, and color, then finding a specialist artist who can design a cohesive composition around your arm. Map the layout with your artist, plan your budget and session schedule, and prepare well for long sittings.
A sleeve is a long-term project, and the planning you do at the start shapes how it looks for decades. Take your time, communicate clearly, and enjoy watching it come together session by session.
This article was reviewed by the Tattoo Shops Near You Editorial Team for accuracy, clarity, and relevance. We use reliable industry resources, official business information, and other authoritative sources where applicable to help readers make informed decisions about tattoo shops, artists, styles, and services.
Last reviewed: October 2026
Getting a Tattoo
 Getting a Tattoo
 Getting a Tattoo
 Getting a Tattoo